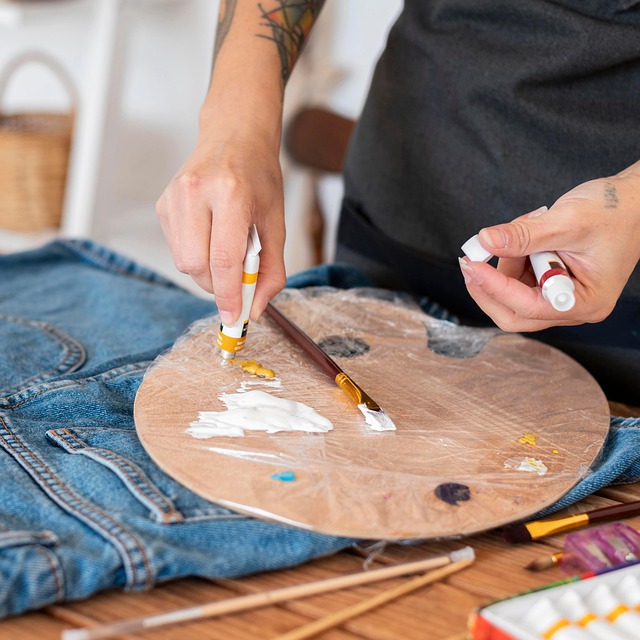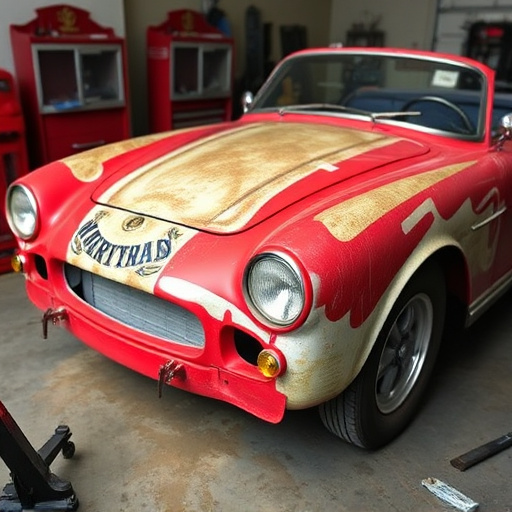
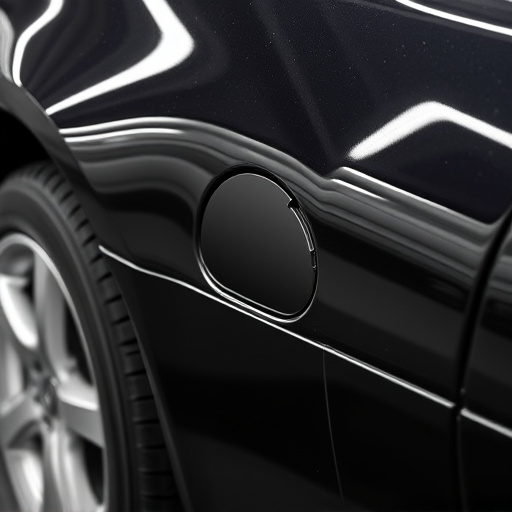

Tesla camera housing repairs are vital for autonomous driving safety. Water leaks and condensation damage require prompt action to prevent sensor failure and blurred images. Auto collision centers offer specialized services using automotive restoration techniques, addressing minor scratches and corrosion. Repairs range from simple fixes to complex component replacements, ensuring optimal vehicle performance and enhanced road safety. This guide provides step-by-step instructions on Tesla camera housing repair, focusing on precision and detail for a restoration-like result.
Tesla vehicles are renowned for their innovative technology, but even these advanced cars aren’t immune to issues. One common problem affecting Teslas is water damage to the camera housing. This can occur due to leaks or condensation, leading to fogged-up or malfunctioning cameras. This comprehensive guide breaks down the causes, symptoms, and step-by-step repair process for Tesla camera housing repairs, empowering owners to address this issue effectively.
- Understanding Tesla Camera Housing Issues
- Diagnosing Water Leak or Condensation Damage
- Step-by-Step Repair Guide for Replacement
Understanding Tesla Camera Housing Issues

Tesla camera housing issues often arise due to water leaks or condensation buildup, which can cause significant damage to the advanced driver-assistance systems (ADAS) and cameras within. These delicate components are crucial for autonomous driving capabilities and safety features. Over time, if left unattended, water intrusion may result in faulty sensor operation, blurred images, or even complete system failure.
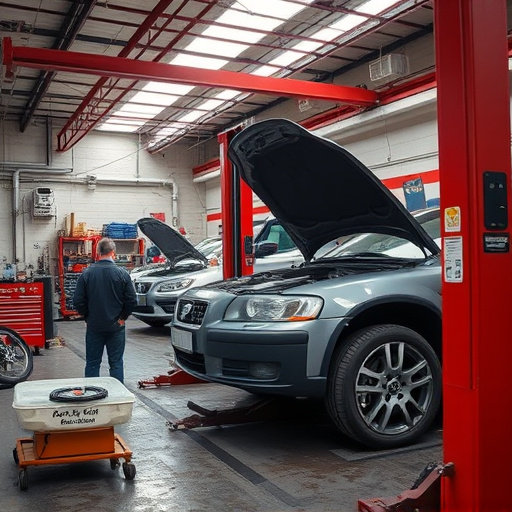
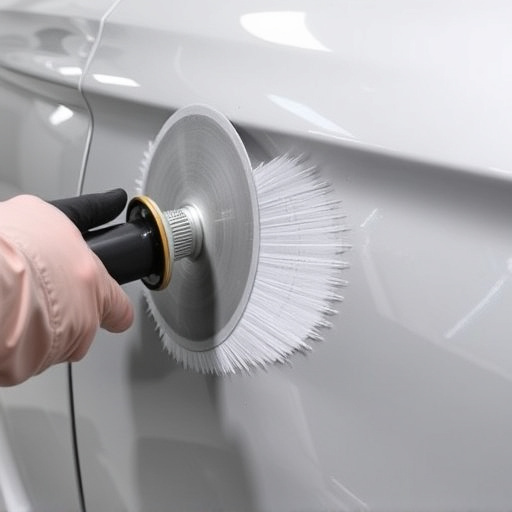
Proper Tesla camera housing repair is essential to maintaining optimal vehicle performance. It involves careful disassembly, inspection, and replacement of damaged parts. Many auto collision centers offer specialized services for these intricate repairs, ensuring the precision needed to align and calibrate the cameras accurately. Even minor scratches or corrosion on the housing can impact the camera’s functionality, making it vital to address these issues promptly through professional automotive restoration techniques.
Diagnosing Water Leak or Condensation Damage
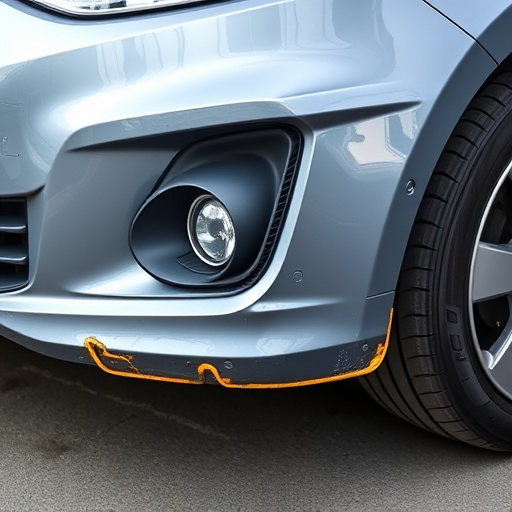
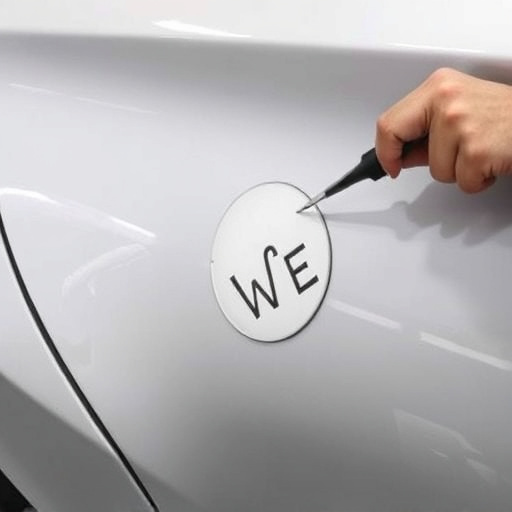
Diagnosing water leak or condensation damage in Tesla camera housing is a meticulous process. Start by inspecting visible signs like cracks, corrosion, or discolouration on the housing itself and the surrounding areas. Check for any moisture buildup inside the housing, indicating potential water intrusion. Often, these leaks originate from poor sealing, damaged gaskets, or faulty connectors. Condensation, on the other hand, usually builds up due to temperature differences or inadequate ventilation within the camera compartment, leading to fogged-up lenses and reduced visibility.
In automotive repair, especially with electric vehicles like Tesla, understanding these issues is crucial for effective Tesla camera housing repair. If left unattended, water leaks can compromise the functionality of the cameras, affecting safety features and driving conditions. Promptly identifying the source of damage allows for targeted repairs, whether it’s a simple fender repair or more complex component replacement, ensuring optimal vehicle performance and enhancing road safety.
Step-by-Step Repair Guide for Replacement
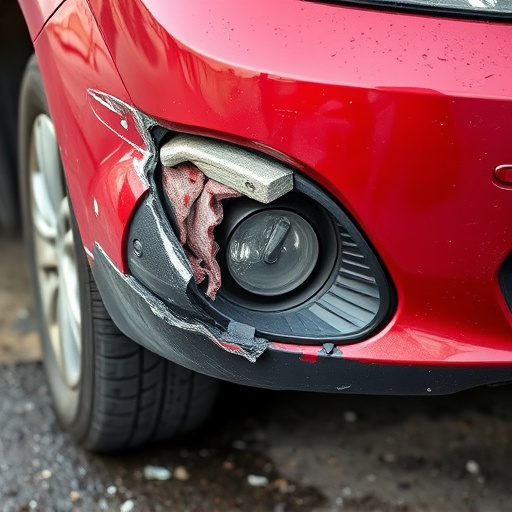
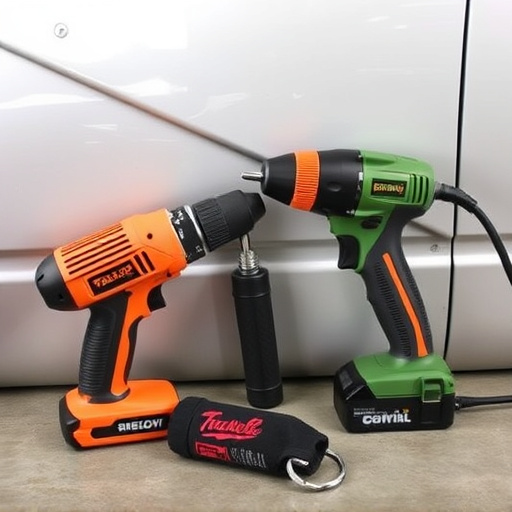
Replacing Tesla camera housing involves a meticulous process, but with the right tools and guidance, it can be accomplished effectively. Begin by gathering all necessary components, including the new camera housing, matching paint or touch-up kit, and any sealants recommended for the specific model. Ensure proper ventilation in your workspace to prevent any adverse reactions during the painting stage. Next, carefully disassemble the damaged housing, taking note of its intricate design. This may involve removing screws, seals, or other components, so document each step for easier reassembly later.
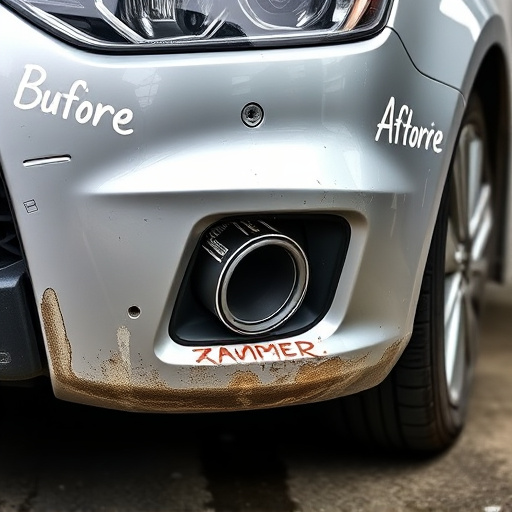
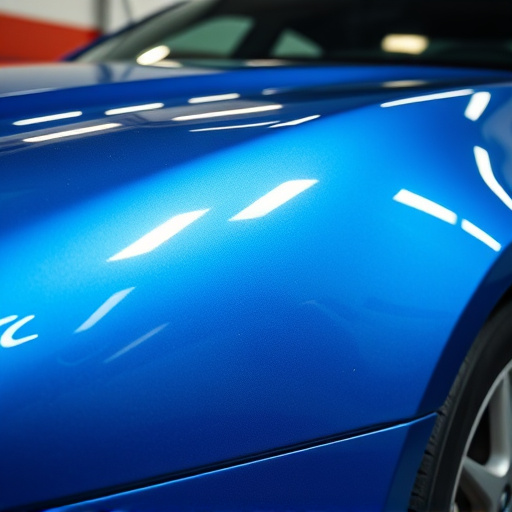
With the old housing removed, clean the area thoroughly to eliminate any debris or residual moisture. Prime the surface and apply the new paint or touch-up coating, following the manufacturer’s instructions closely. Allow the paint to dry completely before proceeding. Once the paint is dry, carefully install the new camera housing, ensuring all components are securely fastened. Apply any sealants as recommended for optimal protection against future water leaks or condensation. Following these steps accurately ensures a successful Tesla camera housing repair, akin to restoring a car body to its original condition through meticulous auto body repair and car restoration techniques.
Tesla vehicle owners often face challenges with their camera housing, particularly due to water leaks or condensation. By understanding common issues and following a structured repair process, you can efficiently address these problems. This guide’s step-by-step approach to replacing the Tesla camera housing ensures your vehicle’s safety features remain intact and functions optimally. Remember, prompt action on water leak or condensation damage is key to preventing further complications.