


Tesla camera housing repairs are vital after body work, addressing misalignment for safety features like Autopilot. Skilled technicians use specialized tools to fix damage from handling or debris, preserving aesthetics and functionality. A systematic process includes inspection, adhesive/filler application, sanding, priming, repainting, and drying. Proper post-repair maintenance ensures longevity and optimal performance through regular care and checks for damage. Consult professional shops for quality Tesla repair standards after accidents.
After paint or body panel work on your Tesla, the vehicle’s iconic camera housing can encounter issues, affecting its functionality and aesthetics. This article guides you through understanding common post-repair problems, demystifying the repair process with a step-by-step guide, and offering maintenance tips to ensure your Tesla’s camera housing lasts. Learn how to address these challenges effectively, enhancing your vehicle’s safety features and preserving its sleek design. Explore the essential steps for a successful Tesla camera housing repair.
- Understanding Tesla Camera Housing Issues Post-Repairs
- Demystifying the Repair Process: Step-by-Step Guide
- Ensuring Longevity: Maintenance Tips After Camera Housing Fix
Understanding Tesla Camera Housing Issues Post-Repairs
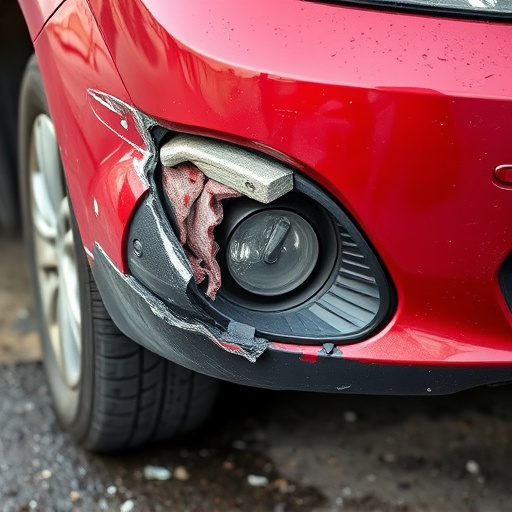
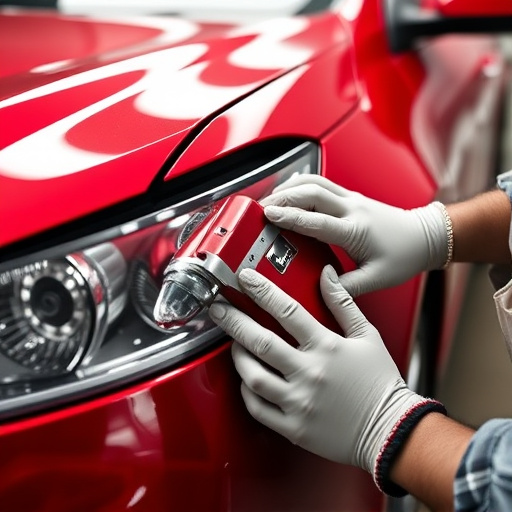
Tesla camera housing repairs are crucial after any paint or body panel work. While high-quality repairs should leave minimal discernible marks, certain issues can still arise that affect the aesthetic and functionality of the cameras. One common problem is misalignment, where the cameras might not be properly centered or aligned with the vehicle’s exterior. This can lead to blind spots or distorted views captured by the cameras, impacting the overall safety features of the car, like Autopilot.
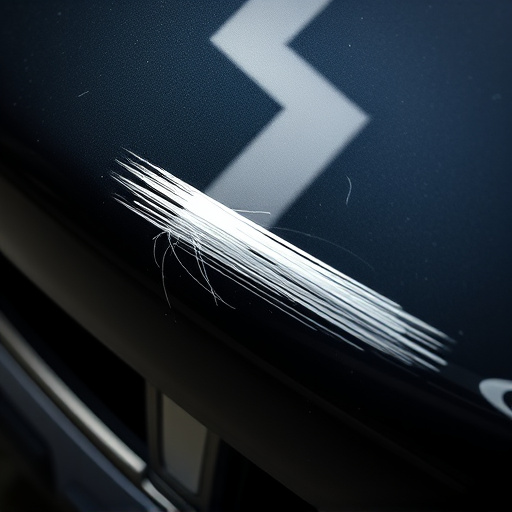
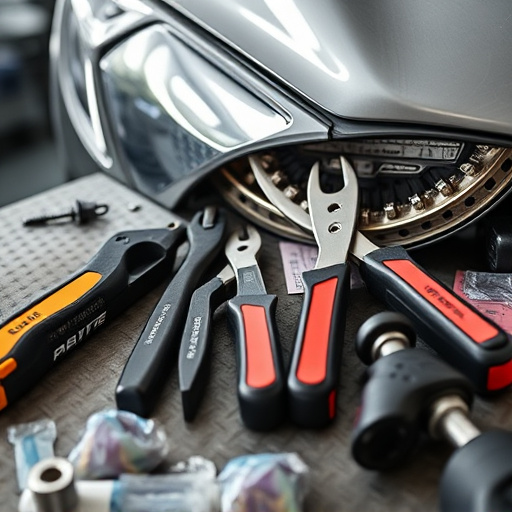
Another issue could be cosmetic imperfections, such as visible scuffs, scratches, or paint inconsistencies around the camera housing. These defects may result from handling during repair, improper painting techniques, or even debris getting trapped beneath the protective coating. Addressing these problems requires meticulous attention to detail, using specialized tools and techniques tailored for Tesla vehicle repairs, ensuring that the cameras not only function optimally but also maintain the vehicle’s sleek and modern appearance, like new.
Demystifying the Repair Process: Step-by-Step Guide
Demystifying the Repair Process: Step-by-Step Guide
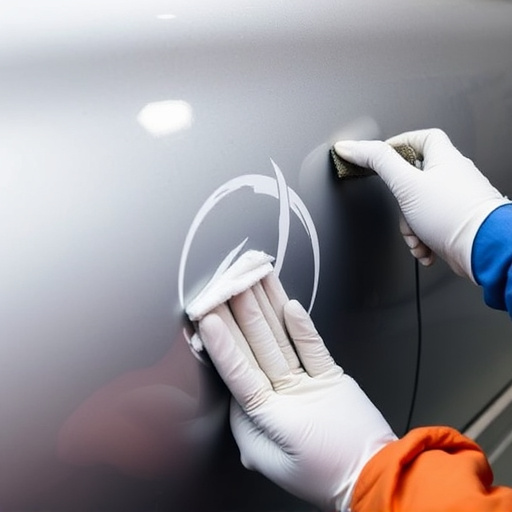
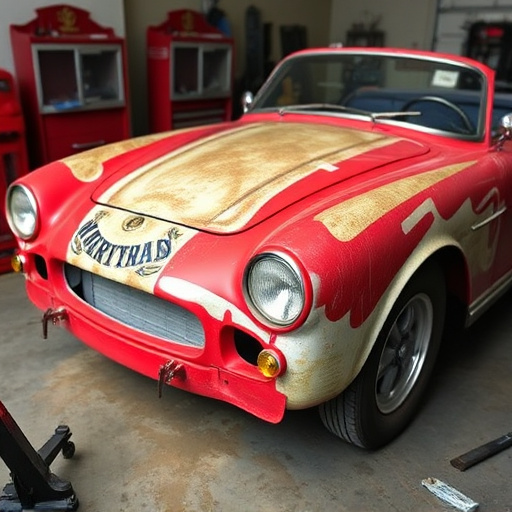
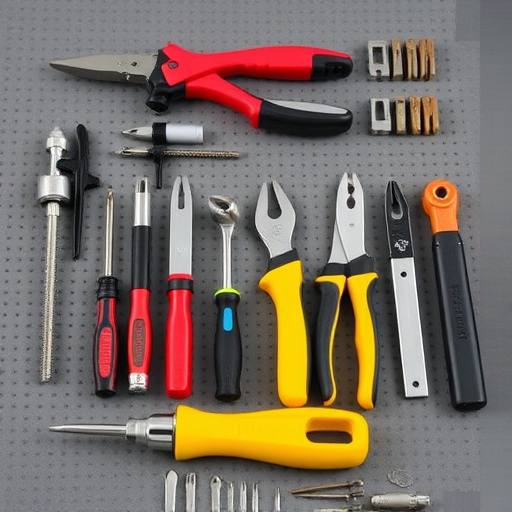
Tesla camera housing repair is a specialized task that requires precision and expertise. The process involves several steps, from preparing the damaged area to ensuring a perfect finish. First, carefully inspect the camera housing for cracks or dents. If the damage is minimal, you might be able to use specialized adhesives designed for automotive applications. For more extensive repairs, removing the housing might be necessary. This step demands caution to avoid damaging other components or the vehicle’s paint job.
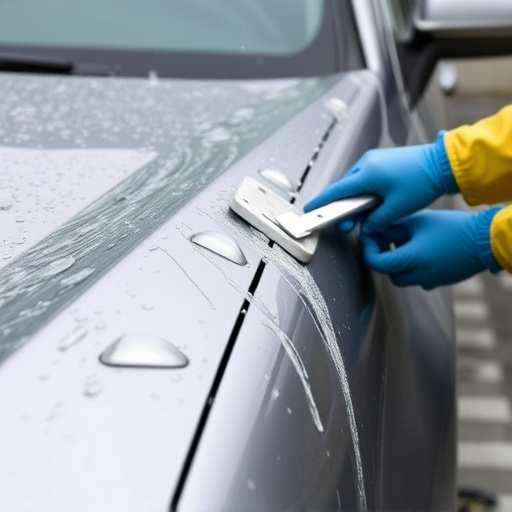
After cleaning and drying the area, apply a thin layer of high-quality body filler, allowing it to set before sanding smoothly. Once the surface is even, prime the repair area with automotive primer for an even base. Then, carefully repaint the Tesla camera housing using a match or similar color, ensuring even coverage without runs or bubbles. Let the paint dry completely before reinstallation, verifying all components are secured and functioning correctly. This meticulous approach ensures your Tesla’s camera housing not only looks like new but also retains its structural integrity, enhancing overall vehicle repair quality.
Ensuring Longevity: Maintenance Tips After Camera Housing Fix
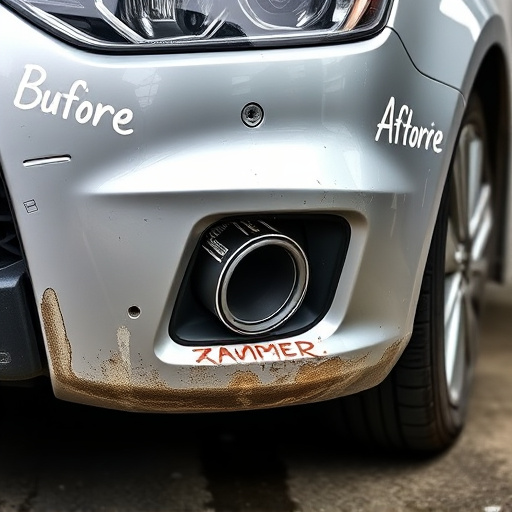
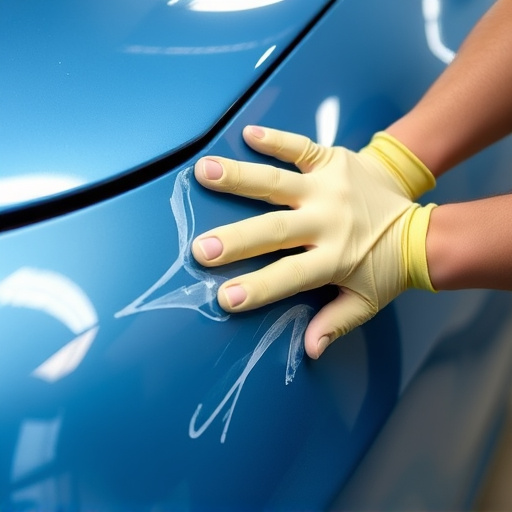
After successfully repairing your Tesla’s camera housing, proper maintenance is key to ensuring its longevity and continued optimal performance. Regular washing and waxing of the vehicle will help protect the repaired area from harsh weather conditions and dirt accumulation. Always use dedicated automotive care products designed for Teslas or similar high-end vehicles to avoid damaging the paintwork or coating.
Additionally, periodic checks for any signs of damage or loose connections at the camera housing site are essential. Early detection of potential issues can prevent more serious problems down the line. Remember, should you require professional assistance with auto repair near me or collision repair services following an accident, ensure to consult reputable shops specializing in Tesla repairs to maintain your vehicle’s quality and safety standards.
After addressing Tesla camera housing issues following paint or body panel work, proper maintenance is key. By understanding the potential problems and implementing a step-by-step guide for repairs, you ensure longevity for your vehicle’s crucial safety feature. Remember, regular inspection and timely replacement of parts can prevent future issues, keeping your Tesla’s camera housing in top condition. For optimal results, always consult expert advice and use genuine components to maintain the integrity of your car’s sophisticated technology.