


Tesla camera housing repair is crucial for maintaining advanced safety features. While minor cosmetic issues can be DIY'd with paintless dent repair, severe damage requires professional collision repair. Diagnosing involves inspecting cameras and trim panels. For Models S/X, replacement parts may be needed; Models 3/Y require detaching connectors first. A step-by-step guide ensures successful repair for each Tesla model.
Experiencing issues with your Tesla Model S, 3, X, or Y’s camera housing? You’re not alone. These advanced vehicles are prone to certain camera housing problems that can affect their safety and performance. This comprehensive guide delves into understanding the common Tesla camera housing issues, diagnosing and identifying specific problems, and provides a step-by-step repair guide tailored for each model. By following these instructions, you’ll be equipped to tackle and resolve camera housing repairs effectively.
- Understanding Tesla Camera Housing Issues
- Diagnosing and Identifying Problems
- Step-by-Step Repair Guide for Various Models
Understanding Tesla Camera Housing Issues
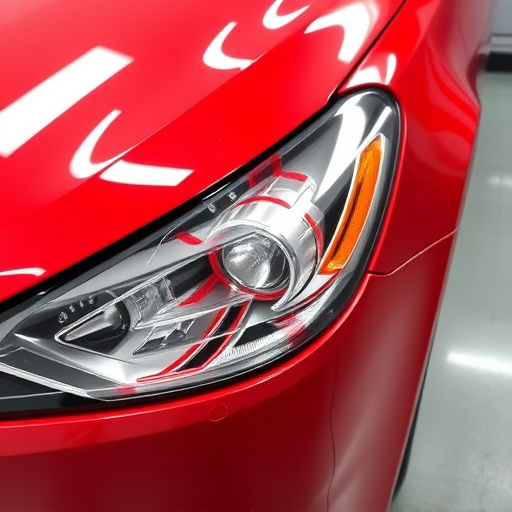
Tesla vehicles are renowned for their advanced technology and innovative design, but like any other car, they’re not immune to issues. One common problem that Tesla owners often encounter is the deterioration or damage to the camera housing on models S, 3, X, and Y. These cameras play a crucial role in the vehicle’s safety features, such as Autopilot and lane-keeping assist, so addressing any problems promptly is essential. Over time, factors like exposure to harsh weather conditions, road debris, and accidental bumps can cause dents, scratches, or cracks in the camera housing, impacting the overall performance of these critical sensors.
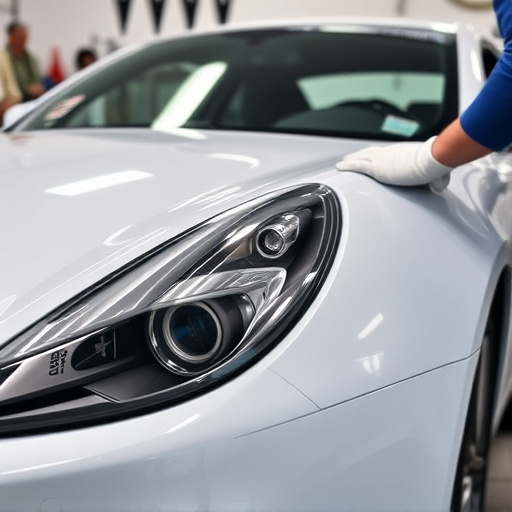
While some minor cosmetic issues can be addressed with at-home solutions, more severe damage often requires professional intervention. A skilled collision repair shop specializing in Tesla vehicles can offer state-of-the-art repairs, ensuring the cameras are restored to their optimal condition without the need for a full replacement. Many methods, such as paintless dent repair, allow technicians to delicately fix dents and cracks, preserving the vehicle’s original finish and maintaining the sleek aesthetic of the Tesla brand.
Diagnosing and Identifying Problems

Diagnosing issues with Tesla camera housing is a meticulous process that requires careful observation and technical expertise. Owners often notice visual cues like cracks or deformities in the exterior casing, which may indicate damage or failure. However, the real challenge lies in identifying internal malfunctions that could impact vehicle safety features, such as autonomous driving capabilities.
The first step in any Tesla camera housing repair is to inspect the cameras themselves. Cloudy or distorted images might suggest a need for cleaning or replacement. Additionally, checking for proper alignment ensures the cameras capture accurate data for advanced driver-assistance systems (ADAS). If the problem persists despite basic maintenance, it’s crucial to consult with a specialized auto glass repair or car repair shop that understands Tesla vehicles and can perform comprehensive diagnostics to pinpoint the root cause of any malfunction.
Step-by-Step Repair Guide for Various Models
Repairing Tesla camera housing for Models S, 3, X, and Y is a straightforward process that can be accomplished with the right tools and guidance. Here’s a step-by-step repair guide tailored to each model:
1. Model S & X: Begin by locating the camera housing on the rear trim panel. Remove any screws or clips securing it in place. Next, carefully separate the housing from the trim without damaging surrounding components. Inspect for cracks or damage; if present, proceed with replacement parts specific to your Tesla model. For minor scuffs or scratches, a vehicle paint repair kit can be used to restore the original finish.
2. Model 3 & Y: The process is slightly different for these models. First, unplug any electrical connectors associated with the camera housing to avoid short circuits during disassembly. Remove the trim panel around the rear camera using suitable tools designed for auto glass repair. This will expose the housing, allowing you to assess and make necessary repairs. Just like the Model S and X, replace or repair as needed, ensuring a seamless fit upon reassembly.
Tesla camera housing repairs are essential for maintaining your Model S, 3, X, or Y’s advanced driver-assistance systems (ADAS). By understanding common issues and following a detailed guide tailored to each model, you can effectively address and prevent future problems. With these steps, you’ll be equipped to keep your Tesla’s cameras in top condition, enhancing safety and ensuring optimal performance of its autonomous features.