


Tesla camera housing repairs are common due to advanced driver assistance systems (ADAS) and environmental factors. Severe damage requires thorough inspection and firmware checks. Repairs involve power-down procedures, tool gathering, demounting old housing, inspecting and cleaning, installing new housing, reconnecting power, and updating firmware for seamless ADAS functionality, similar to auto glass repairs.
Tesla vehicles are renowned for their advanced technology, but even these innovative cars aren’t immune to issues. One common problem is the failure of the camera housing, which can impact safety features and cause frustrating glitches. This article delves into the heart of the matter, exploring why Tesla camera housing repairs require more than just a simple fix. We demystify firmware integration checks, offering a comprehensive guide for optimal results, ensuring your Tesla’s cameras function seamlessly once again.
- Understanding Tesla Camera Housing Failures
- Demystifying Firmware Integration Checks
- Step-by-Step Repair Guide for Optimal Results
Understanding Tesla Camera Housing Failures
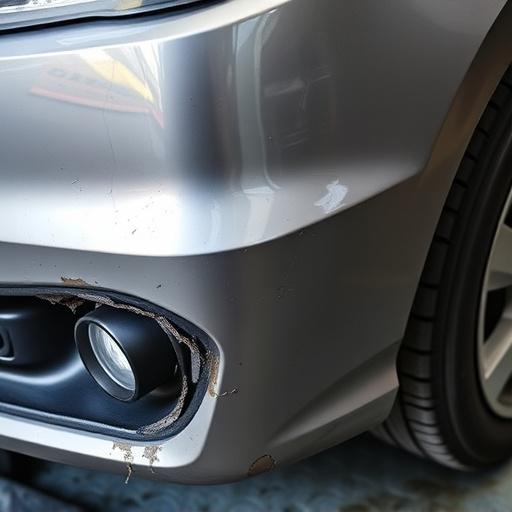
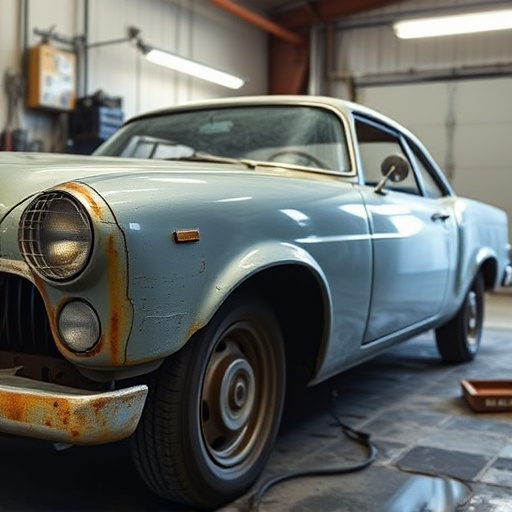
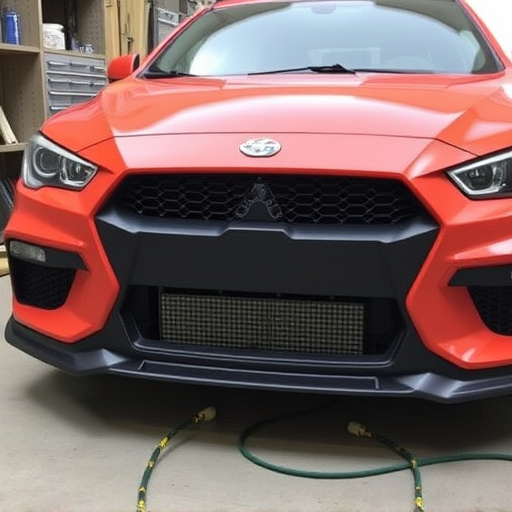
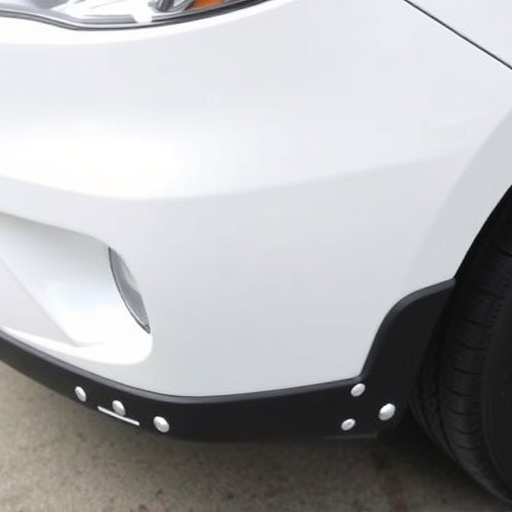
Tesla camera housing repairs are increasingly common as these advanced driver-assistance systems (ADAS) become standard features in many modern vehicles. Failures typically stem from several factors, including exposure to extreme weather conditions, road debris, and vehicle collisions. Over time, the housing can sustain dents or cracks, compromising the integrity of the camera and potentially affecting the overall performance of the ADAS system.
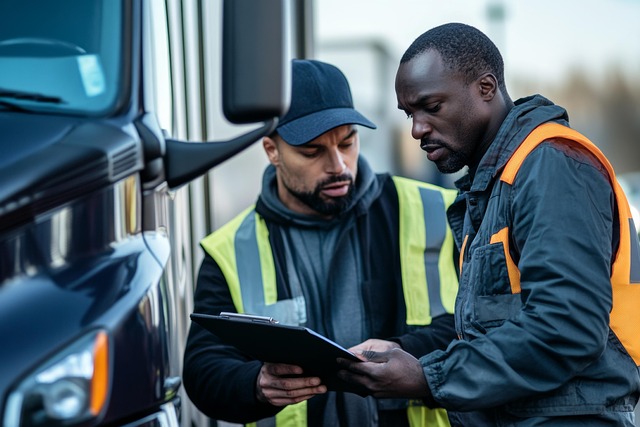
While some minor issues might be resolved with simple dent repair or auto body services, more severe cases may require a thorough inspection and firmware integration checks. These checks are crucial to ensure that the camera’s software is functioning correctly after any collision repair, as vehicle collisions can cause hidden damage that could impact the precision of the Tesla’s advanced sensors.
Demystifying Firmware Integration Checks

Firmware integration checks are a critical aspect of Tesla camera housing repairs, ensuring seamless functionality and performance after restoration. This process involves verifying the synchronization between the camera’s hardware and its software brain, which is controlled by the firmware. It’s akin to making sure your car’s engine and transmission work in harmony, even after an auto glass repair or vehicle restoration.
During the check, technicians scrutinize various parameters like image quality, processing speed, and data transfer rates. They also validate the camera’s ability to adapt to different lighting conditions and its response to commands from the vehicle’s system, similar to how a car damage repair might restore structural integrity while ensuring optimal driving dynamics. By passing these checks, the Tesla camera housing is guaranteed to deliver reliable, high-quality performance in real-world driving conditions.
Step-by-Step Repair Guide for Optimal Results
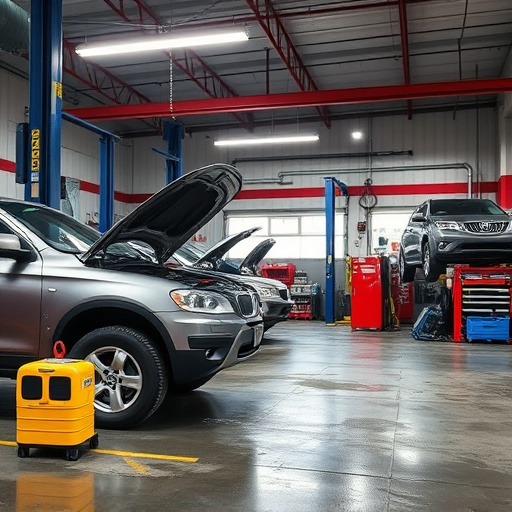
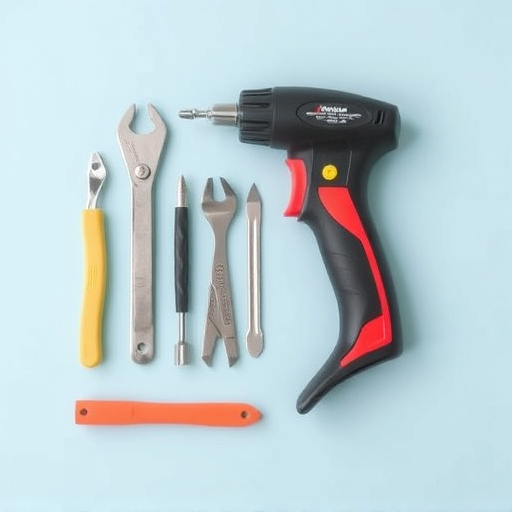
For optimal results in a Tesla camera housing repair, follow this step-by-step guide. Begin by powering down and unplugging your Tesla vehicle to ensure safety during the process. Next, locate the damaged camera housing, usually found near the front or rear of the vehicle, and gather the necessary tools including replacement parts, screwdrivers, and a new firmware update kit if required.
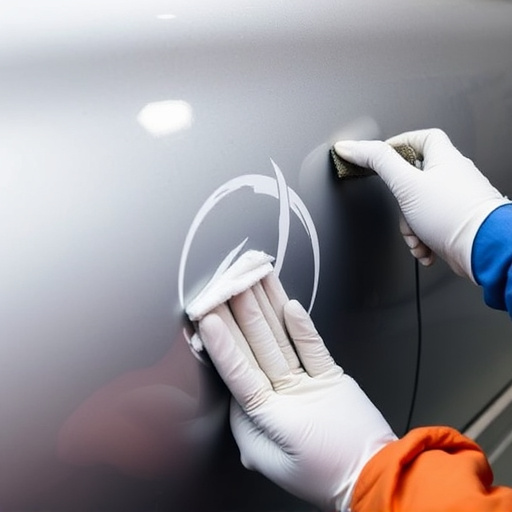
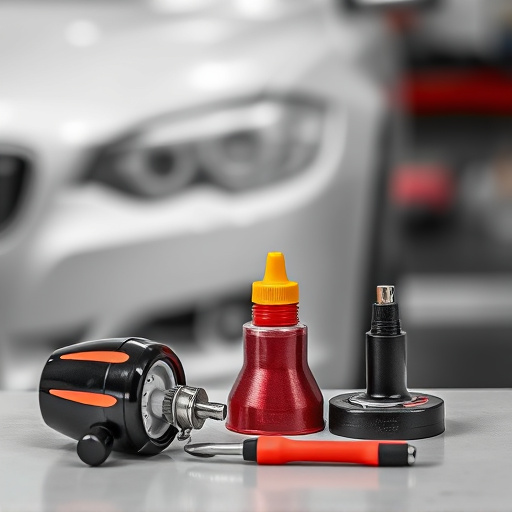
Demount the old camera housing carefully, taking note of where each screw goes. Once removed, inspect the damage and clean the area thoroughly before installing the new housing. Ensure proper alignment and secure all screws tightly. After reinstallation, connect your Tesla back to power and run a series of checks including auto body repairs, ensuring no cracks or dents have been introduced during the process. Verify that all camera functions are operational and update the firmware as needed for seamless integration with your vehicle’s system, similar to an auto glass repair or replacement procedure.
Tesla camera housing repairs involve more than just replacing physical components; they include critical firmware integration checks. By understanding both the common failure points and the intricate process of updating firmware, owners can ensure their vehicles maintain optimal safety features and autonomous capabilities. Following our step-by-step guide, you’ll be equipped to perform successful Tesla camera housing repairs, extending the life of your vehicle’s crucial components and keeping you safe on the road.