


Proper care, including regular cleaning and inspections, is crucial for maintaining Tesla's camera housing integrity. Common issues like water infiltration and loose mounts require DIY or professional repairs using high-quality parts. Correct replacement, alignment, and fastening ensure optimal camera function and aesthetic appeal. Prompt attention to problems, such as car scratch repair, prevents functional disruptions in advanced safety systems.
Uncover the fundamentals of Tesla camera housing repair and transform your vehicle’s safety features. This comprehensive guide delves into the essential aspects of understanding and fixing common issues with your Tesla’s camera housing. From identifying basic problems to mastering a step-by-step repair process, you’ll equip yourself with valuable knowledge. Learn how to navigate through troubleshooting techniques, ensuring optimal performance for your Tesla’s advanced driver-assistance systems. Embrace the power of self-repair and enhance your vehicle’s capabilities today!
- What You Need to Know About Tesla Camera Housing
- Troubleshooting Common Camera Housing Issues
- Step-by-Step Guide to Repairing Your Tesla Camera Housing
What You Need to Know About Tesla Camera Housing

Tesla camera housing plays a pivotal role in ensuring optimal performance of your vehicle’s advanced driver-assistance systems (ADAS) and autonomous driving capabilities. This housing, typically made from durable materials like plastic or composite, houses the intricate cameras that capture real-time data for processing by AI algorithms. Over time, this component can sustain wear and tear, impacting the camera’s clarity and functionality, which necessitates Tesla camera housing repair when issues arise.
Understanding basic maintenance practices is crucial to prolonging the lifespan of your Tesla camera housing. Regular washing and cleaning of the exterior can help prevent dirt and debris buildup, while occasional checks for cracks or damage allow for timely repairs. Should any defects be discovered, turning to reliable car paint services or auto repair specialists equipped with expertise in Tesla vehicles becomes essential. Efficient car scratch repair techniques can also restore aesthetic appeal to the housing, ensuring your vehicle’s advanced safety features operate seamlessly behind a pristine exterior.
Troubleshooting Common Camera Housing Issues

When it comes to Tesla camera housing repair, troubleshooting common issues is a crucial step in ensuring optimal performance and longevity of your vehicle’s advanced driver-assistance systems (ADAS). One of the most frequent problems is water infiltration, which can lead to faulty camera operation and even system failure. Inspecting for any signs of damage or gaps around the housing is essential. Sealing these areas with high-quality silicone or rubber compounds recommended by Tesla can prevent moisture from entering.
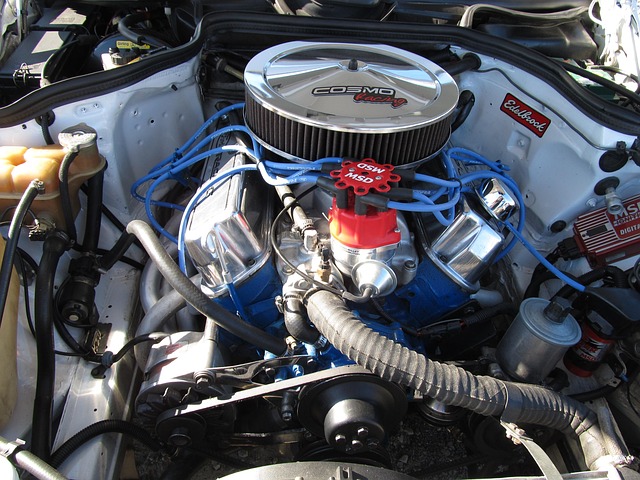
Another prevalent issue is loose or damaged housing mounts within the car bodywork. These mounts secure the cameras firmly in place, and their deterioration or misalignment can cause camera shake or even disconnection. Auto detailing experts often recommend regular visual inspections and gentle tightening of these mounts to maintain stability. For more severe cases, a visit to a professional vehicle body shop might be necessary to replace damaged parts or realign the housing, ensuring your Tesla’s cameras function at their best.
Step-by-Step Guide to Repairing Your Tesla Camera Housing

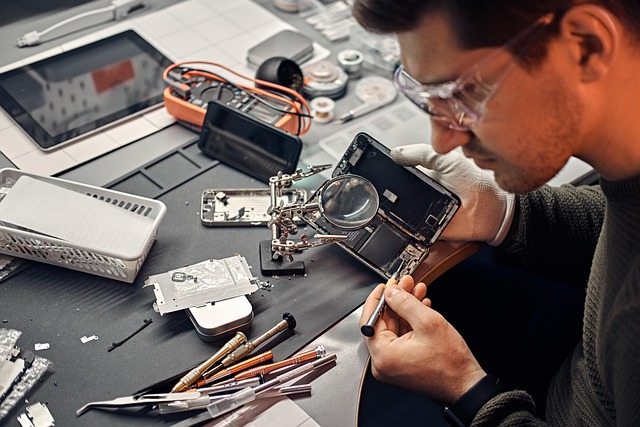
Repairing your Tesla camera housing can be a straightforward process with the right guidance. First, gather all necessary tools and materials, including high-quality replacement parts specifically designed for Tesla models. Start by ensuring proper ventilation in a well-lit work area, as this will facilitate precise work. Using a phillips head screwdriver, carefully remove the existing camera housing from your vehicle’s body panel, taking note of any pre-existing screws or fasteners.
Next, inspect the damaged area closely and identify any cracks or breaks. Clean the surface thoroughly to eliminate dirt or debris using isopropyl alcohol and a soft cloth. Apply a thin layer of automotive-grade adhesive suitable for plastic, following the manufacturer’s instructions for curing time. Once set, carefully align and reinstall the new camera housing, securing it firmly with new screws or fasteners. Double-check all connections before moving on to the next step, ensuring everything is correctly aligned and fastened.
Whether you’re a Tesla owner addressing a minor issue or a DIY enthusiast, understanding the basics of Tesla camera housing repair can save time and money. By familiarizing yourself with common problems and following a structured guide, you can effectively troubleshoot and fix your vehicle’s camera housing. This article has equipped you with the knowledge to navigate through the process, ensuring your Tesla’s cameras are functional and ready to capture the road ahead. For any future Tesla camera housing repair needs, remember the steps outlined here—a valuable skill in today’s digital age.